How To Record Your Videos With XSplit
Thursday, July 7th, 2016
Recording video with stream quality software: Why XSplit is worth the bandwidth.
In recent months it has become more and more clear that video is here to dominate. With 90% of customers using video reviews before deciding to buy a product, it’s not hard to see why brands and businesses are jumping on the video train. But if you are a small business or a start-up who can’t afford to hire a production team don’t worry! If PewdiePie can do it then so can you. All you will need is a camera, sound recording equipment, XSplit, some good lighting and a bit of charisma.
Why XSplit?
So let’s just get this out in the open. If this is an article about how to make your own videos for online marketing, then why XSplit specifically? Well, you could use any free recording software you like. But in my opinion, you will be hard pressed to find free recording software that is so feature-rich and easy to use. Now that isn’t to say that you won’t pay for the software. If you want a full range of features then you will have to buy a license, but assuming you’re not creating a full production movie the free version should serve the purpose.
XSplit is specifically designed for the production of gaming and e-sports streaming, which is high action content. Not only does XSplit need to run smoothly, but because it is used by professional streamers and casters on a daily basis, it also needs to be very intuitive.
Downloading the Application
Before downloading the XSplit application there are a few things you will need to consider. In June this year, Split Media Labs separated their application into to two parts: XSplit | Broadcasting and XSplit | Gamecaster.
Broadcaster V2
Gamecaster
Depending on what kind of video you are looking to create will decide which application you download. If you want to live stream you would choose Gamecaster, if you are looking to record film for later editing then Broadcaster is what you are looking for. But nothing is stopping you from downloading both and experimenting a little bit.
I have the software. Now what?
Installation
Now that you have the package on your PC it’s time to open up your present. Run the .exe file, which can usually be found in your downloads folder, and click through the installation process. XSplit’s installation process is not long. You will be asked to specify an installation location, use the default; where you want the shortcut icon to appear; and then you will be asked to install. Select install, and when the installation is complete select finish. The process is exactly the same for both applications.
Video Set-up
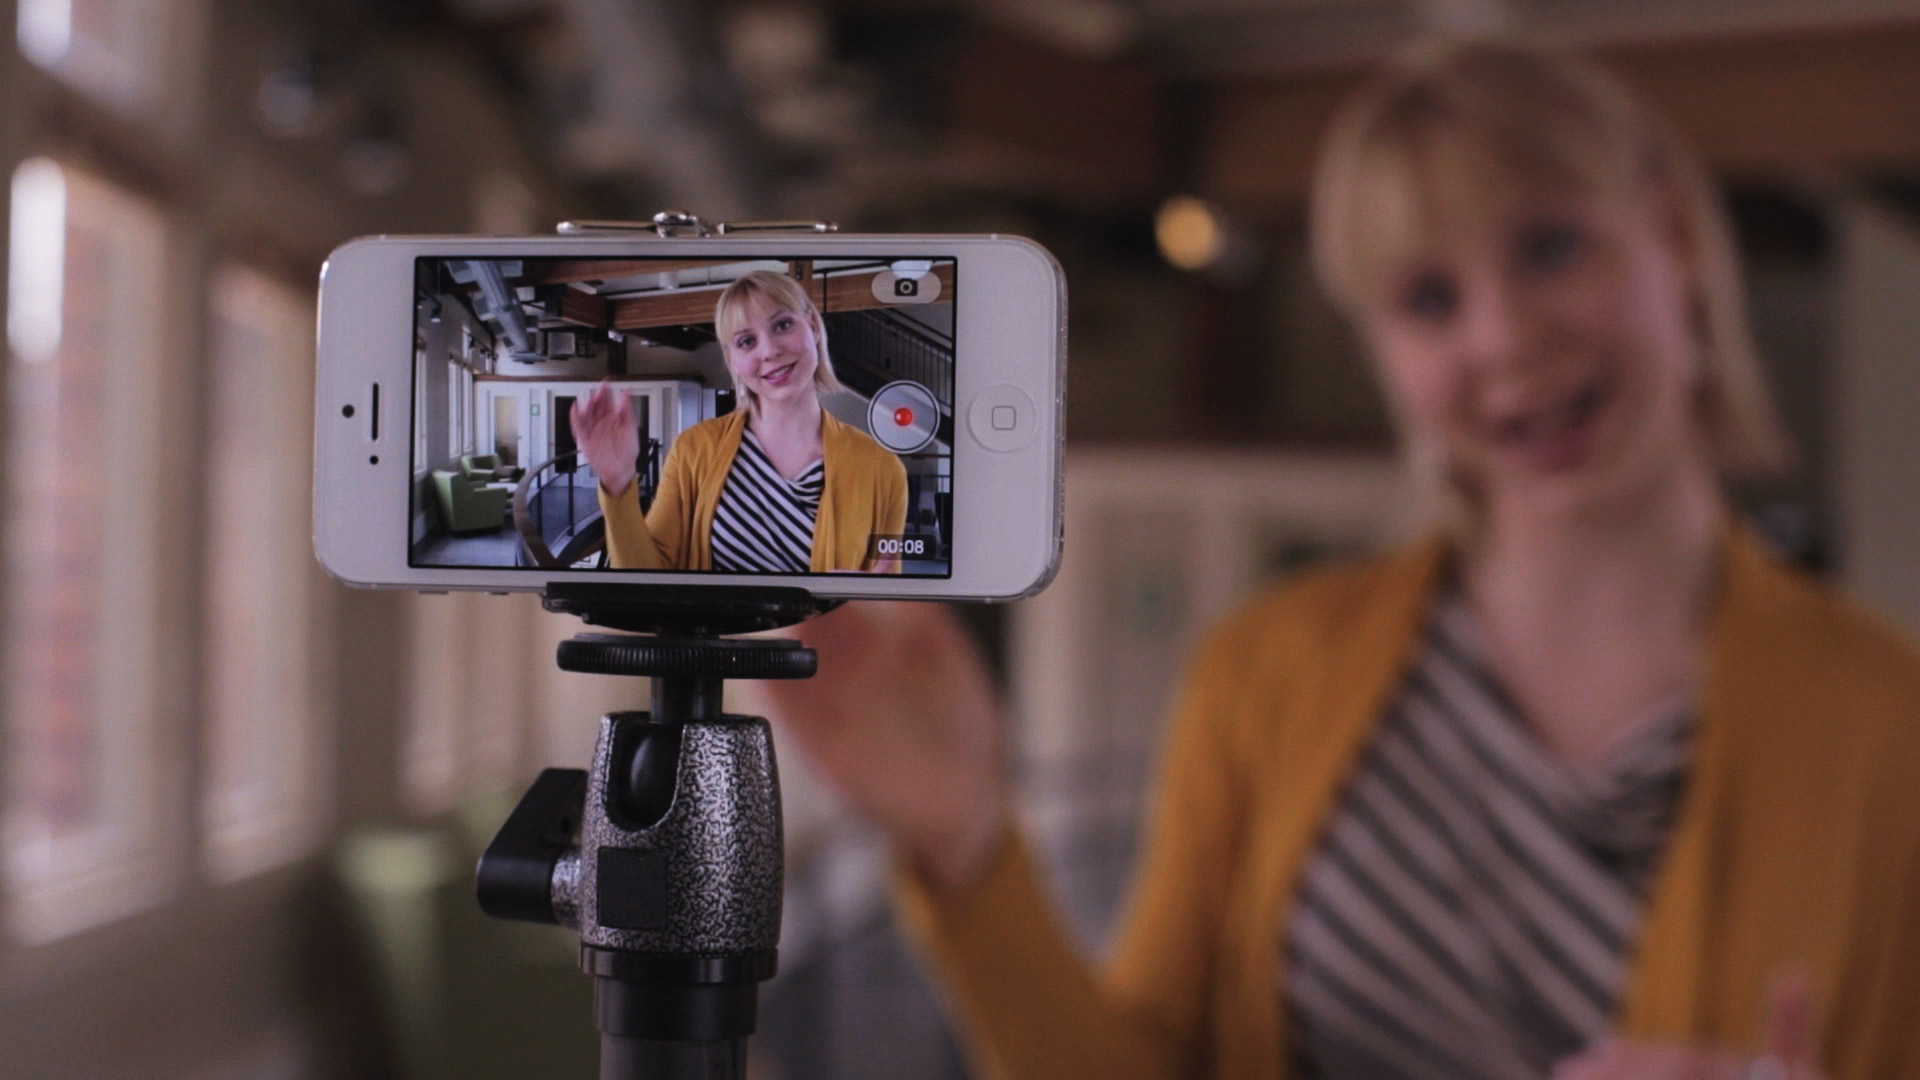
The next step is really fun. In order to record, you will need to set up your video station. Now assuming that you are not using your smartphone to record the video, it will be really simple to get you set up. If you are using a smartphone there are apps that you can download in order to turn your phone into a wireless webcam. I use DroidCam Wireless Webcam for my Android phone, but there are apps for any mobile OS that you can download from GooglePlay.
Here’s how:
Sound Set-up
Next, you will need to start working on your sound. Like video, you do have options when it comes to sound. Remember that sound and lighting are probably the two most important concerns when it comes to pre-production. Which is why you need to choose the best product for recording. That is not to say that you should spend a huge amount on your audio equipment but rather find the best mic in your price range. You will also have the option of using a headset microphone, stand-alone microphones or simply your smartphone microphone. Whatever you have access to or prefer is up to you. Just make sure that your audio is crisp and does hurt the ears.
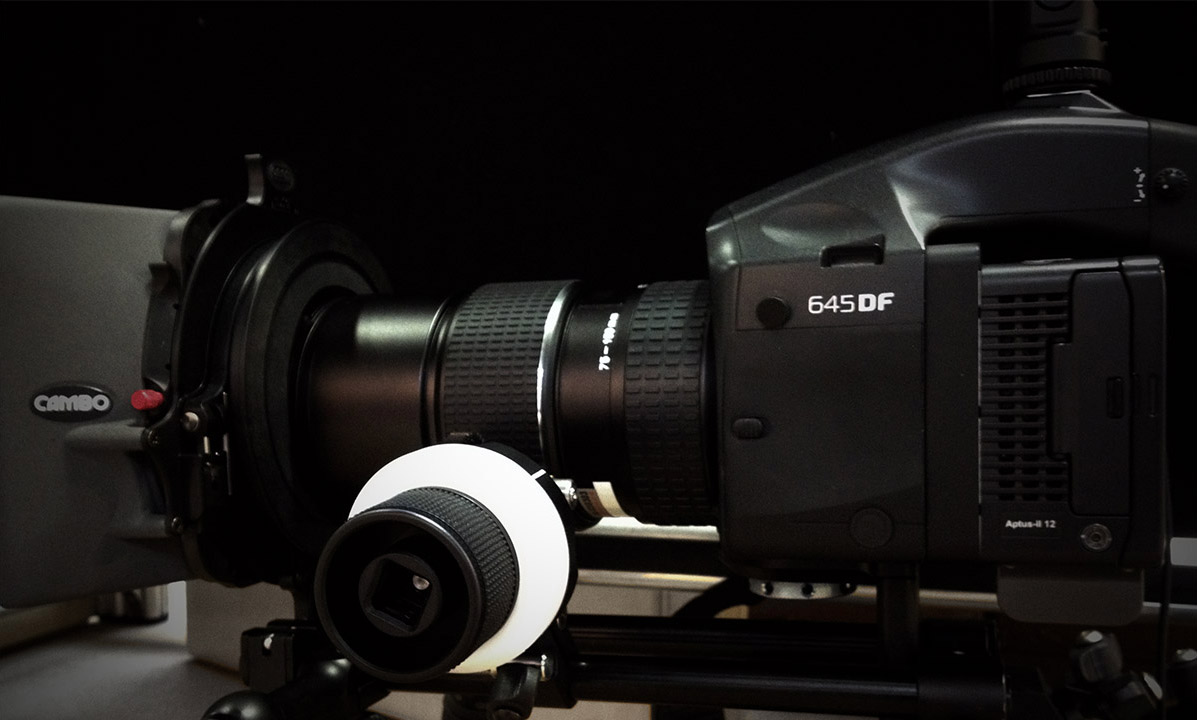
Background and Lighting
This has nothing to do with XSplit itself, but I feel that this should always be mentioned when it comes to video creation tutorials. Lighting, lighting, lighting. Lighting is the key to a good video. Just like good audio, good lighting can make or break your video and in turn, your brand. That is why you need to make use of all the natural light you have. When filming, make sure you’re facing into the light and that your camera is facing away from the light.
While background may not be as important as lighting you do still want to pay attention to it. The kind of environment people see you in will go a long way in determining what they think of you and your product. If you are trying to come across as a professional brand you don’t want to be pitching to potential customers from your mother’s basement. Likewise, if you are a gamer, you don’t want to have an office or nature related back-drop. Make sure your background is clean and subject appropriate.
Bringing it together in XSplit
So you are sitting at your desk. Camera to one side, mic on the other. Your background appropriate and clean, you even managed to get your logo in there somehow, and your lighting is immaculate! You feel so pro now that everything is hooked up. But wait, how do you make this XSplit thing work?
Broadcaster
Once you are signed into XSplit you will have the option to use four scenes that you can change between even during recording.
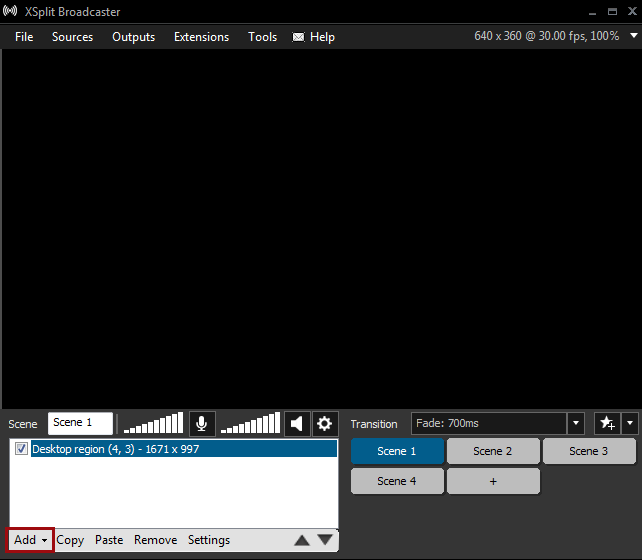
To add ‘sources’ to your scenes, select the add menu in the bottom left of the app. This will give you the option to add:
- Screen Capture – this allows you to film the full screen, specific application windows, and custom selected areas.
- Game Capture – depending on what game is being played, XSplit will automatically pick up the game screen and record it. Simply mouse over game capture and choose the game you wish to record from the drop down menu.
- Media file – allows you to add images, video and custom HTML that you may want to appear on the screen while you are recording or streaming.
- Webcam, capture card or video devices – this is where you can choose what external device to film from. When one is connected you can choose from a webcam, smartphone cam or even use a webcam address to film from other computers.
- Text – add and edit text that you want to appear in your recording.
- Other – a selection of other neat things you can add to your recording like recordings from web URLs, a white-board recording, skype videos and image slideshows.
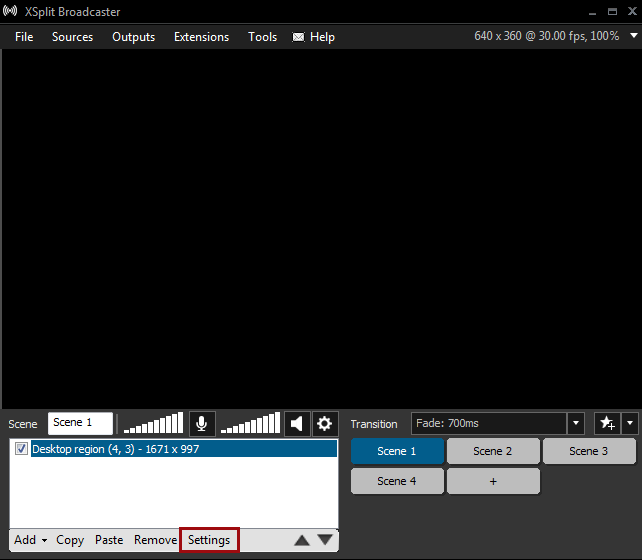
Any one of these options can be changed to suit you. Select the source you want to edit and press settings to the right of the add menu.
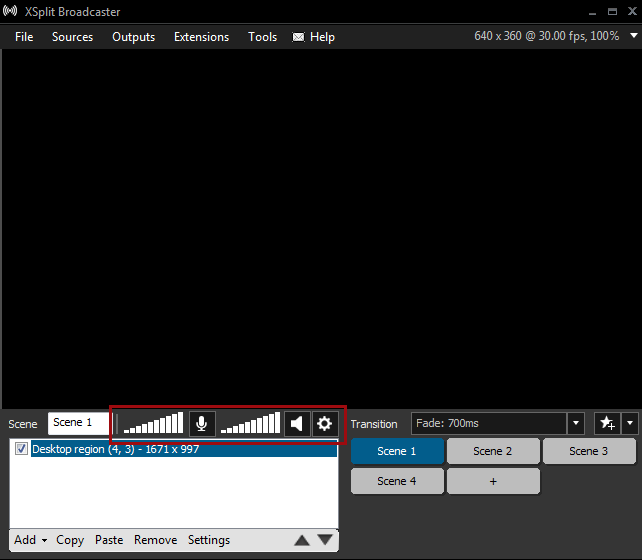
The last thing you need to know is that you can change the microphone’s and the computer’s recording volume individually by using the sliders above the sources area.
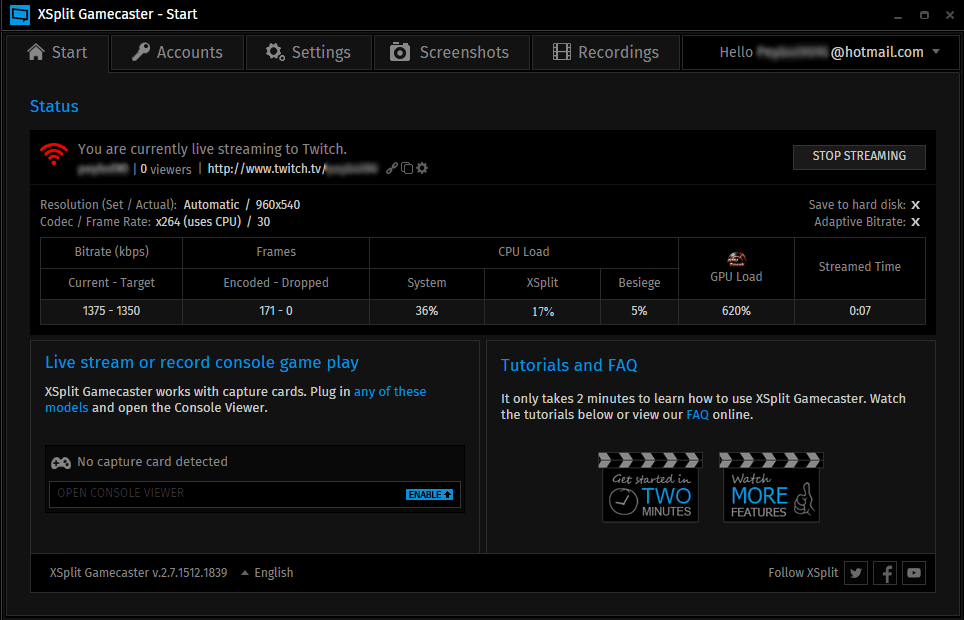
Gamecaster
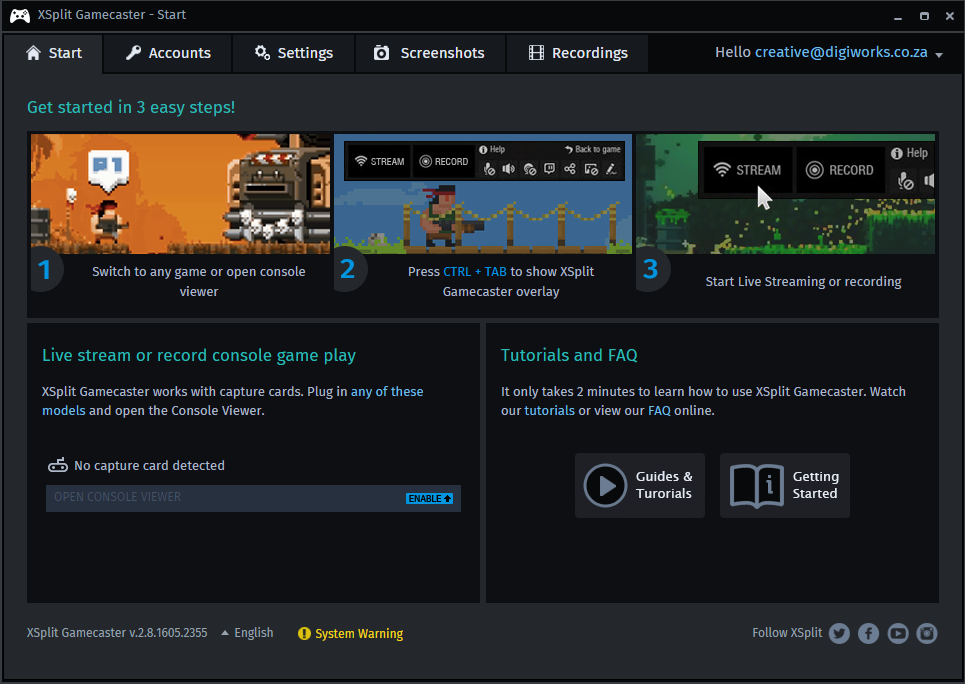
Gamecaster is even easier than Broadcaster. When opening the app for the first time make sure to connect your streaming sites to your XSplit account. Gamecaster uses a three step system:
- Open your game
- Press CTRL + TAB to display Gamecaster overlay
- Start live streaming or recording
You can edit your streaming accounts and recording settings in the tabs across the top of the XSplit window. Remember that Gamecaster will only record games and is not really useful for vloggers or non-gaming related businesses.
All-in-all Xsplit is a pretty powerful and convenient application to use. And in almost all cases you can get away with using the free version, but if you do have to buy a license just remember that the business version is only $5 a month.
Cart

Recent Posts
- How to change your password in PHPMyAdmin
- I accidentally deleted my files, how do I get them back
- Virtual Reality: 5 must have items for a VR future
- How to get your pc to recognise your flash drive
- Step by Step to connect Mac Mail for email hosted on Exchange 2010