Step by Step to connect Mac Mail for email hosted on Exchange 2010

Tuesday, October 18th, 2016
This article describes how to set up your Microsoft Exchange 2010 email account with Mac Mail.
Note: Exchange 2010 runs only on Mac OS X version 10.6 or later. If you’re unsure about which OS X version you’re running, click the Apple icon located in the top-left corner and select About This Mac.
- Open Mac Mail and select Mail > Preferences.
- In the new window that appears, click the Accounts tab in the top menu bar and then click the plus (+) symbol in the lower-left corner.
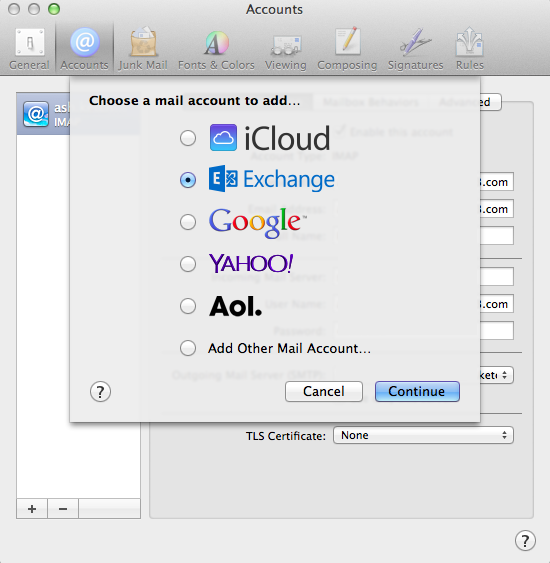
- Select Exchange and then click Continue.
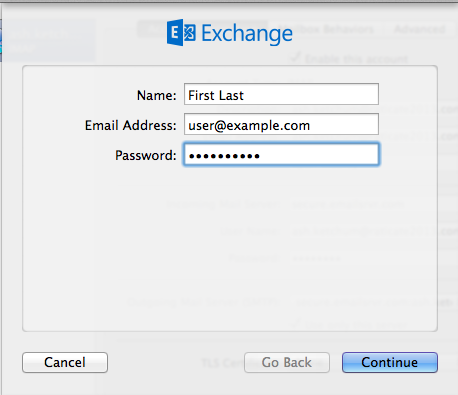
- On the next page, enter your full name and your entire Microsoft Exchange email address and password. Then click Continue.
- If your Autodiscover CNAME record is set correctly, Mail automatically pulls the correct server settings for you. Skip to Step 6.
- If the Autodiscover CNAME record is not set correctly, you can set up the account manually. Continue to Step 5.
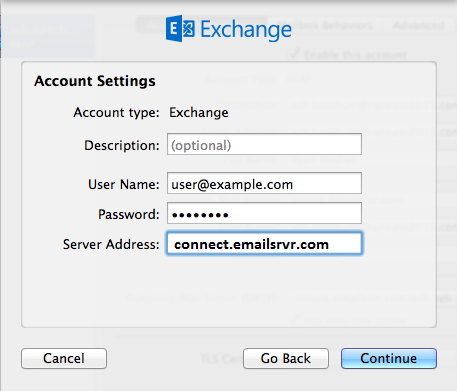
- Enter the following information and then click Continue:
- Description – Enter a descriptive name for your mail account (for example, Work Mail).
- User Name – Enter your entire email address (for example, user@example.com).
- Password – Enter the password associated with the email account you are setting up.
- Server Address – Enter connect.emailsrvr.com.
- Confirm the settings and then click Continue.
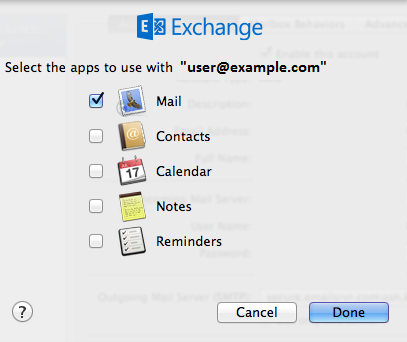
- Choose any other options that you want to enable, and then click Done.
https://www.digiworks.co.za/wp-admin/post.php?post=6915&action=edit#

Your Microsoft Exchange 2010 email account is now set up with Mac Mail.